My advice to someone new to social media or blogging is to invest in the best photography gear from day one. Then, learn how to use it well before you get busy (trust me, it is a struggle otherwise).
Either way, since I am messaged quite a bit on Instagram about the camera gear I use, here’s the list. I’m by no means a pro, but everything has allowed me to skate by in the photo department on this site and Instagram.
As an Amazon Associate I earn from qualifying purchases. Editorial guidelines.
Cameras for Travel and Food
Sony a7r II (Main Camera)

I hurt my back carrying a heavy DSLR and lenses around Delphi, and other Greek ruins, so I decided a change was necessary.
I switched to a mirrorless camera system and I seriously could not be happier.

The a7R ii is one of Sony’s top-of-the-line cameras. It’s a beast with 36 megapixels. The price tag is worth every penny, but it’s come down in price significantly following the release of the a7R iii.
Sony A5100 (Small Camera)

I bought this camera, too, for several reasons. First, it’s even smaller than the Sony a7r ii, so it’s easy to slip into my purse and take to theme parks.
It’s simple enough for my 10-year-old to use (she calls it her camera). And, both cameras can use the same lenses.
What I did not expect is how good the quality is. This little camera is a fraction of the cost of my former Canon 70D and takes way better pictures.
If you’d just like a nice camera for every day that’s higher quality than a point-and-shoot or looking for the most bang for your buck, I highly recommend this one or any of the models to follow.

I used the camera to take the panda photo under the 70-300mm lens description below, and my mind was blown.
IPhone + Adobe Lightroom Mobile
Truthfully, when I’m short on time or don’t feel like carrying around a real camera, I use my iPhone. Portrait mode can do a pretty good job of taking photos of food if you don’t need to blow it up for a print or a large screen.
Adobe Lightroom can sync photos from mobile to desktop. With iPhone photos, it usually is a matter of lightening shadows, decreasing highlights, and maybe adding a little color or dehazing. It’s good enough, usually.

I’ve since upgrade to the iPhone 12 Pro XR. The camera technology just keeps getting better and better. If you tend to shoot at night or in dimly-lit restaurants, get an iPhone 12 Pro.
Sony Camera Lenses
Sony Distagon T Fe 35 MM F/1.4 ZA


I bought this right before a trip to New Orleans, thankfully, because it was super useful for taking photos of food in dim lighting.
I like this lens for these situations and some street photography work (though I tend to shoot even wider on the streets).

Sony Fe 70-300MM F/4.5-5.6 G OSs Lens

I was looking for an excellent long-range zoom lens and was turned off by so many because of their massive size. I switched to mirrorless to avoid weight.
So, I rented four lenses in total and finally settled on this one for its compact size (relatively speaking) and quality.

Filters
I’m totally a late adopter to camera lens filters but do have three that I use.
Polarizing Filter
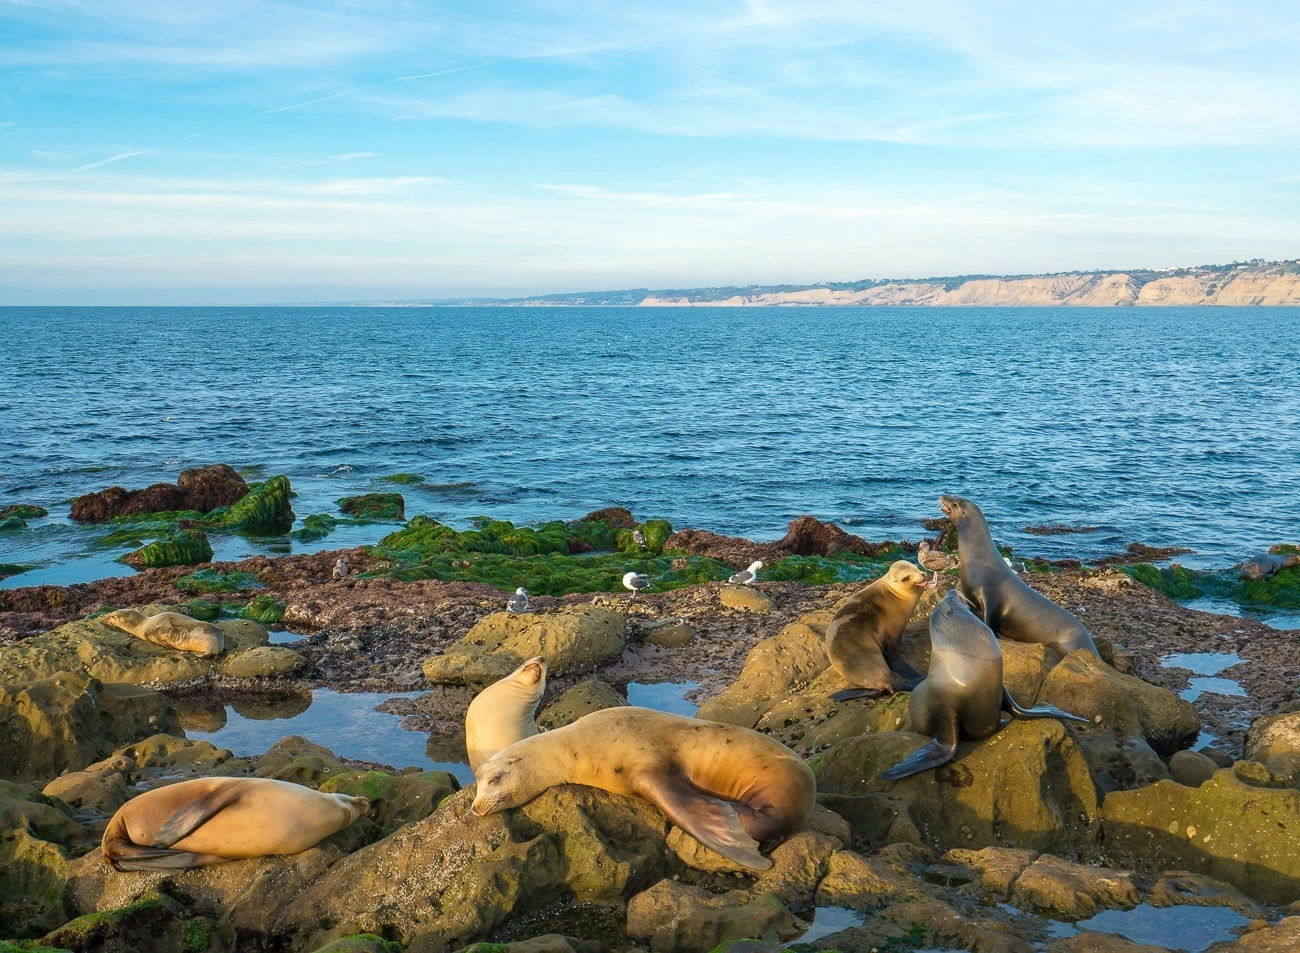
The sun can be brutal in the afternoons in San Diego, and I do enjoy photographing La Jolla sea lions. I love the effects that this polarizing filter has on my photos when taking photos in direct sunlight.
A polarizing filter does what it suggests … it polarizes light passing through it which reduces reflections and improves contrast. Things are clearer and frankly more interesting looking when I shoot them.
I use an HGX Prime CPL Filer with Repellamax II which the camera shop I frequent (George’s Camera) highly recommended. I’m happy with it, but it’s not widely sold.
Tiffen and other big names make polarizing filters so you can shop them below.
Carl Zeiss Uv Filter
If I know I’m going to have my camera slung around my body while sightseeing or in crowds, I do put a UV Filter on the lens mostly for protection. It’s clear. I figured though that I might as well go for the best and get a Zeiss UV filter to compliment my Zeiss camera lenses.
Hoya 6-Star Filter
This star filter is REALLY fun to use when the opportunity arises. And, it’s not an expensive gadget. I took this (with unsteady hands after some Ruinart) from the Four Seasons Hotel Hong Kong Executive Club balcony.

Gopro for Underwater Photos
My action camera of choice and was released days after I flooded my Hero4 in Grand Cayman. I flooded the Hero4 because it required a waterproof housing that didn’t latch properly.
The reason why the GoPro Hero5 is so incredible is that it doesn’t require a waterproof housing at all. You can simply take the camera into the water with you. They’ve since released the more expensive GoPro Hero6 Black.
Gopro 3-Way
If you are going to buy one accessory for your GoPro, make it the three-way arm. We use it all the time as a grip, an extended stick, and a tripod. It’s awesome and waterproof.
Floating Strap for Gopro
I attach a floating strap to the end of the 3-Way for it to float with my camera attached. I haven’t had a problem with it (knock on wood), and it’s been great in the ocean and swimming pools. You can very easily attach and detach it.
However, the new trend is to attach the GoPro to a strap on your wrist. Whatever you do, if you take the camera in water, make sure you have a way to keep it from floating elsewhere.
Camera Tripods
Joby Gorillapod

This JOBY GorillaPod flexible tripod with ball head bundle for DSLR and mirrorless cameras up to 3 kg (6.6lbs) is easy to use. It’s great in a myriad situations.
You can wrap it around polls or simply angle it down when you need a table shot or use it to shoot a video of yourself. Its flexibility comes in way handier than I thought it would.
Manfrotto 190GO! Carbon Tripod With 3-Way Head

I obsessed about what kind of tripod to buy since I need one for travel in addition to food photography. I eventually settled on the Manfrotto 190Go because of its built-in vertical arm, allowing me to point the camera straight down for flat lay photography.
The three-way head keeps the camera very stable in those downward shots. I opted to pay a bit more for the carbon build because of its lightweight quality. Every pound counts in my suitcase. I’ve taken it to Asia, too. It folds up nice and compact.
This tripod also means that I didn’t have to buy a vertical arm and a tripod separately. Depending on what I’m trying to shoot, it does require flat lays to be shot on the floor versus a table, which is fine with me.
Learn How to Use Your Gear and Editing Apps — lynda.com
If you’d like access to as many training videos as possible regarding how to use your camera equipment and editing software like Adobe Lightroom or Photoshop, I would highly recommend a subscription (they offer a free trial, too) to Lynda.com, which is now LinkedIn Learning.
What do you think is the best camera gear for your lifestyle? You can keep up with me at @lajollamom on Instagram.


Leave a Reply